DO
Read all the instruction guides in full before commencing installation.
Before undertaking any new project, it is always advisable to take the time to do some research. The Hotwire Heating website is a wealth of information. Installation guides can be downloaded and read prior to commencing an install. They provide plenty of helpful information to ensure your underfloor heating installation runs smoothly.
Check the suitability of your chosen floor finish.
Check with your flooring manufacturer for compatibility of your chosen floor finish. Make sure it is suitable for underfloor heating.
Measure up properly.
It is important to calculate the exact m2 of the area to be heated. Normally we do not heat under anything that is fixed such as vanities and WCs in bathrooms, kitchen cupboards and permanent entertainment units. When calculating the area of the room to be heated be sure to take these areas out of your final measurement.
Make sure you order the right size kit.
Once the exact m2 of the area to be heated has been calculated it is time to work out what size underfloor heating kit will be needed. If you are not sure give Hotwire Heating a call.
Double-check you have ordered the right size kit.
You have ordered and received your underfloor heating kit. Be sure to check again that you have the right size kit for the area the underfloor heating is to be installed. There is a simple formula (included in the installation manual). This is not only a great guide for the cable spacing required but will also be an indication that you have the correct underfloor heating kit.
Calculate Cable Spacing.
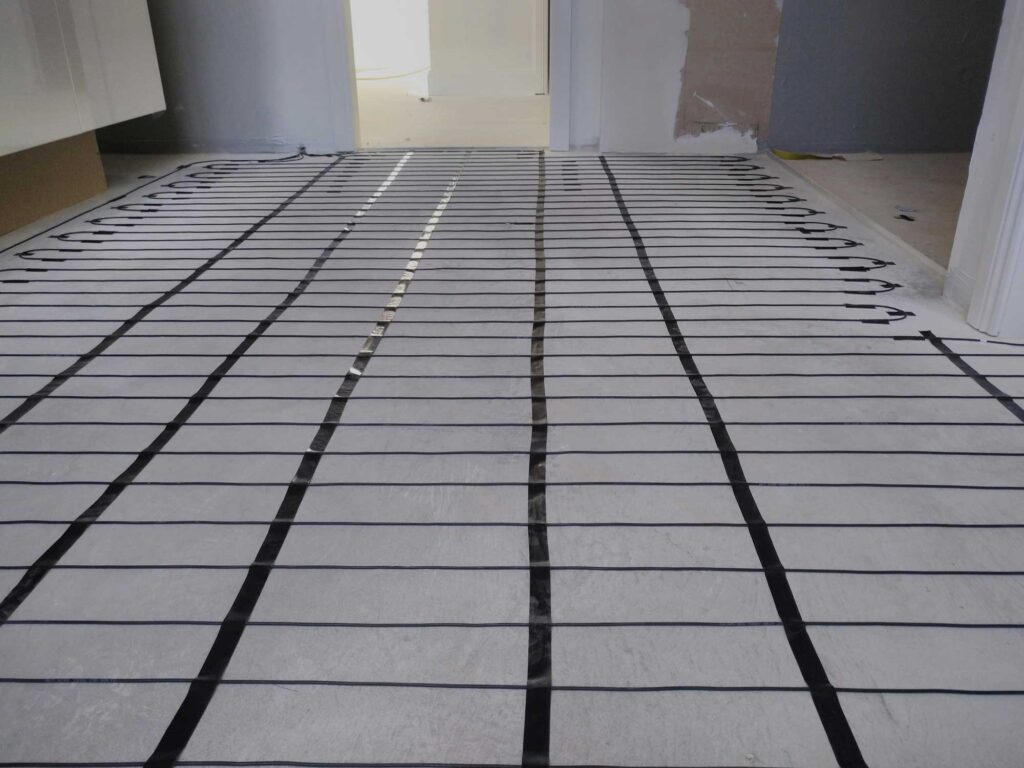
This is important for an excellent Hotwire installation. Be sure to complete the simple cable spacing calculation shown in the installation manual. Check the answer is within the recommended cable spacing. Maintain even element spacing when laying the element.
Use the provided Continuity Alarm.
It is recommended to use the Continuity Alarm before and after underfloor heating install. Check the element is working before you start and be sure to have the alarm connected during floor laying. It will alert you if there is any damage to the cable during this process.
Ensure the floor temperature sensor probe is installed.
The floor temperature probe is included with the thermostat. Be sure your installer removes the floor probe from the thermostat box and installs it after the heating element has been laid.
Ensure all electrical work is carried out by a qualified electrician.
DON’T
Guess or estimate your floor area.
Accuracy of measurement is important.
Cut or shorten the heating cable.
The heating element is a resistive element and by cutting or shortening the heating cable it is changing the resistance and will cause the cable to burn out or not heat up sufficiently.
Commence installation on concrete floors or waterproofing that is not fully cured.
Make sure the surface is clean and clear of obstructions.
Leave any excess cable exposed or coiled under fixtures or inside a wall cavity.
All the heating cable needs to be fully embedded.
Bend or twist the joint where the heating wire meets the cold tail.
The joint could fracture. This connection must be fully embedded within the tile adhesive layer.
Connect underfloor heating mats/cables in series.
Multiple mats/cables must always be wired in parallel. No part of the element can be run inside the wall. The entire cold tail join must be buried in the channel.
Space heating elements less or more than the recommended spacing (as per the installation manual).
This will ensure an excellent Hotwire installation meaning your heating expectations will be met.
Allow heating cables to touch or cross over each other.
Allow traffic over the heating element until the flooring has been laid.
Always protect the heating element from damage. Do not store tiles, sharp or heavy objects on the heating element. It is good planning to install your underfloor heating element as close to your flooring install as possible.
Turn on the system until it is fully installed and tile adhesive has fully cured.
Ensure that all adhesives, levellers and grouts are fully cured – usually 7-14 days.
Attempt to carry out any electrical work if you are not a fully qualified electrician.


