Under-floor heating is simple when you plan it well. Do that, and you’ll cut hassle, avoid rework, and get warm floors that just work. Here’s some great tips to follow to ensure an excellent result.
Plan before tiling
You get one chance before the tiles go down. No do-overs.
Plan the layout, power, and controls before waterproofing starts.
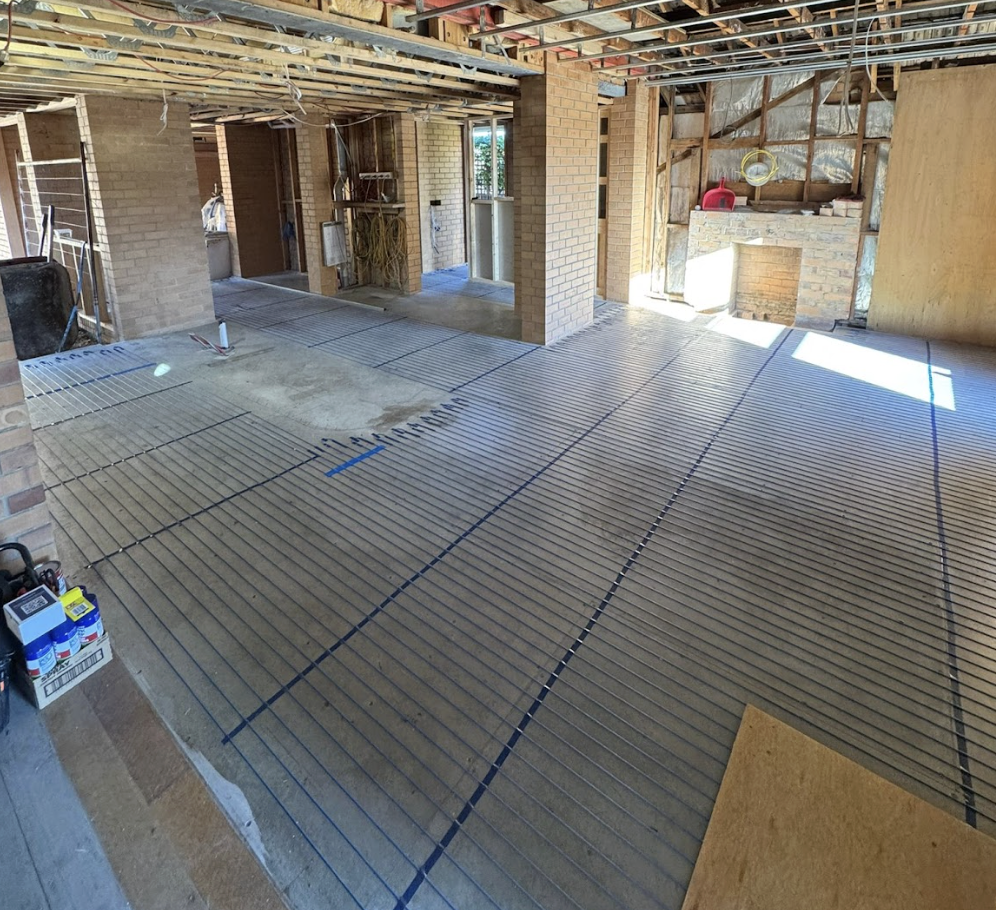
- Mark clear zones: keep heating at least 100 mm from walls, drains, toilets, and floor wastes.
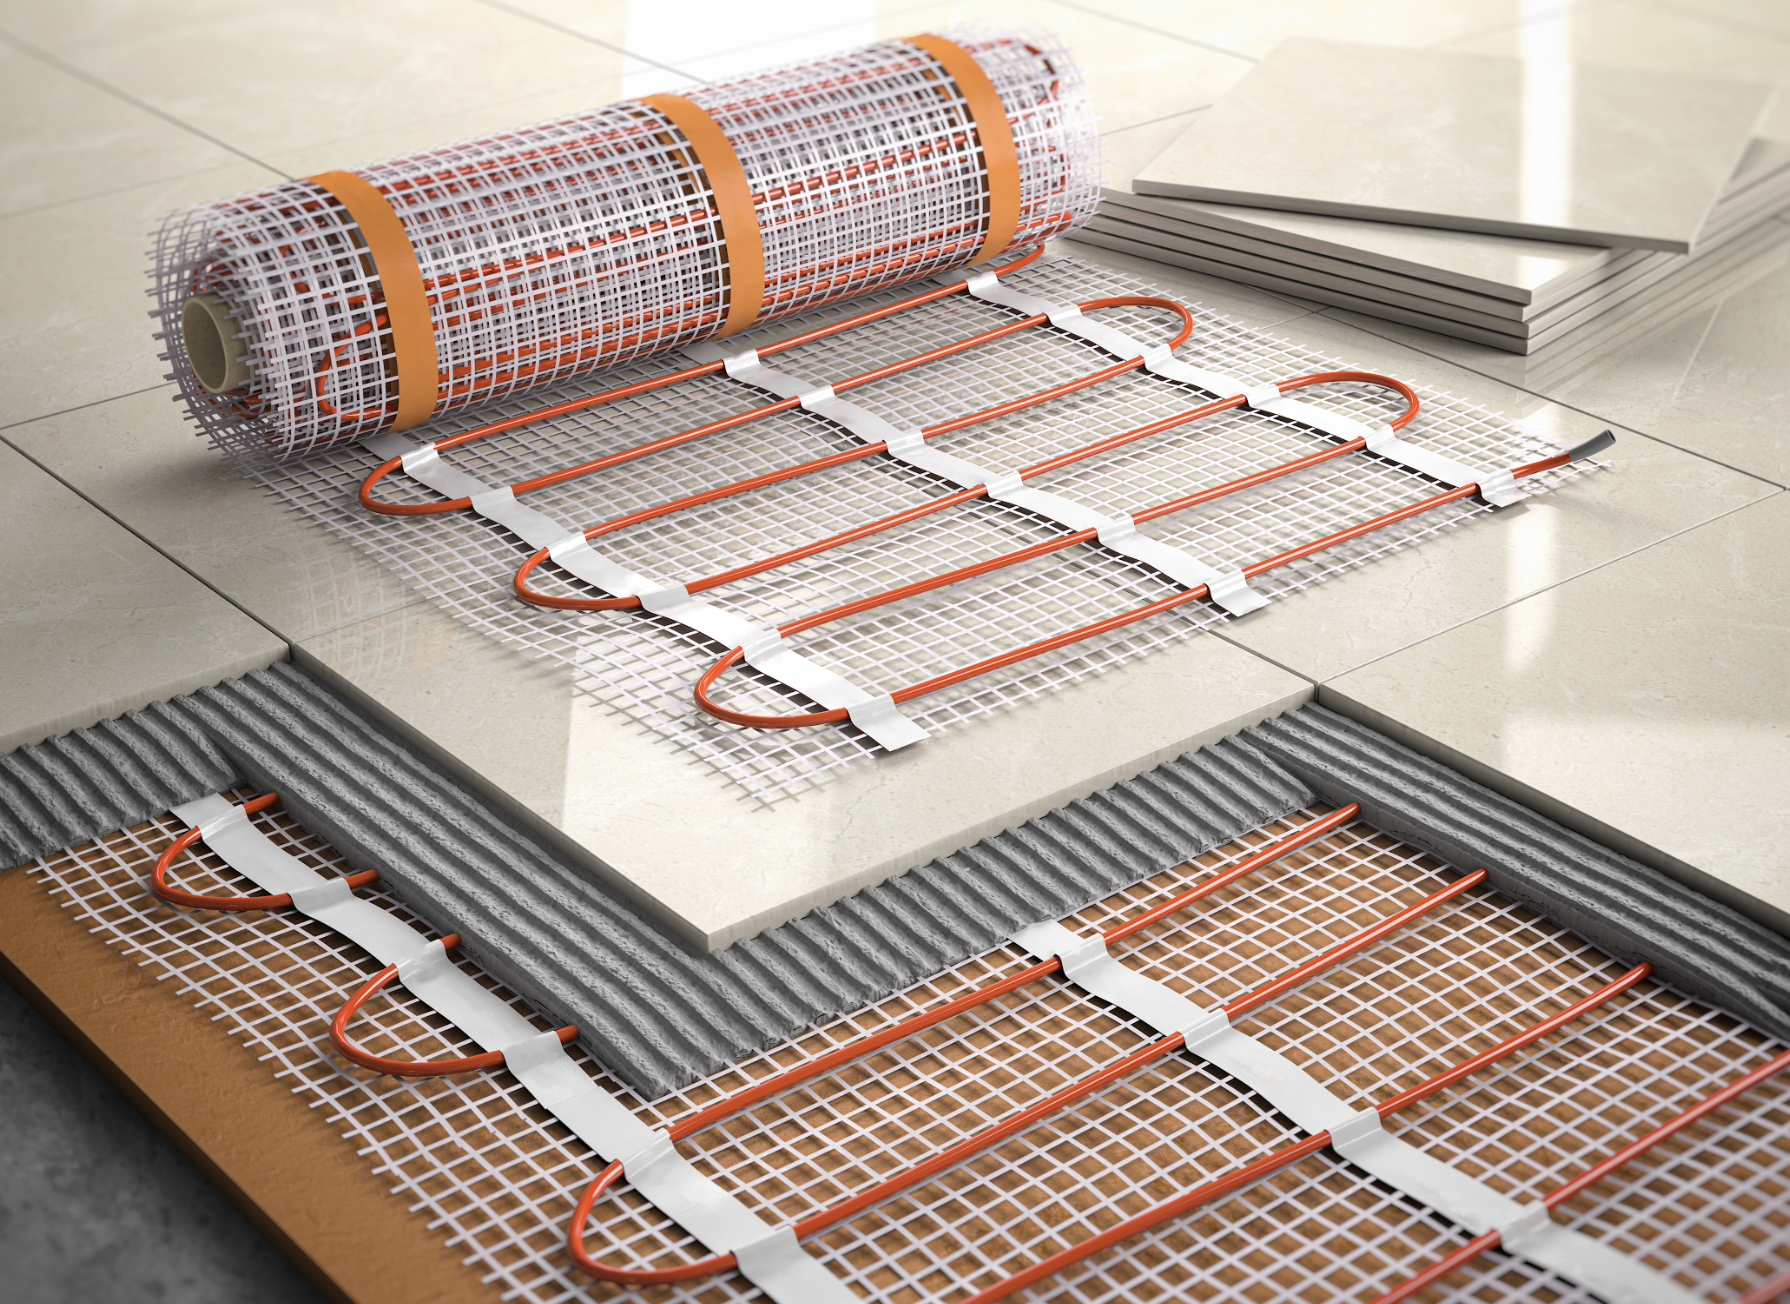
- Confirm floor build-up: membrane, insulation board (if used), heating, adhesive, tile.
- Choose thermostat position now; run a dedicated conduit for the floor probe to the right spot (centre of a heated lane, not near a pipe or window).
- Check power: a licensed sparkie should confirm load, RCD, and circuit capacity.
- Photograph the cable/mat layout with a tape measure in frame. Those photos save warranties and arguments.
A 10-minute planning chat can save a lot of headaches down the road.
Choosing the right system
Electric suits most Aussie homes. Here’s why.
- Renovations: Thin build-up, fast install, no boiler. Great for bathrooms, ensuites, laundries.
- Responsiveness: Heats up quickly, so you can schedule short, targeted runs.
- Footprint: Works under tile and stone without changing door heights.
- Cost to set up: Lower upfront than hydronic for small areas.
Hydronic still has a place in big new slabs with long run times and central plant. But for typical rooms—especially tiled wet areas—electric is usually the better bet.
Tip: match wattage to use. ~150 W/m² is common under tile in bathrooms; go higher only if the room is draughty or poorly insulated.
Chose the right control / thermostat

Thermostats matter for comfort and cost.
Pick a unit with a floor sensor for bathrooms (stable floor temperature, less glare on bills). Use schedules: warm when you’re there, off when you’re not. Good controls add:
- Adaptive start: the floor reaches temp at the time you set.
- Open-window detection: pauses heat if the room drops suddenly.
- Usage data/Wi-Fi: helps you trim set-points and runtimes.
Reality check on running costs: they depend on set temperature, insulation, room size, and how long you run it. Most savings come from dropping the set-point by 1–2 °C and tightening the schedule.
Use a trained installer
Under-tile heating is safe and reliable when installed by people who know the details.
Trained installers will:
- Test resistance and insulation before, during, after install, and record results.
- Place the floor probe in conduit, between two runs—not touching a cable.
- Protect the cable during tiling (no buckets or ladders on it, ever).
- Coordinate with waterproofing so membranes and heating layers stay in the right order.
- Provide photos, test sheets, and the as-built plan for your records.
If you can, book an installer who’s done formal training (e.g., a Hotwire Training Academy graduate). It’s not just about the certificate—it’s the habits: neat runs, correct spacing, clean terminations, and paperwork that stands up later.
Conclusion
Get the plan right, choose the system that fits the room, use smart controls, and hire trained installers. Do those four things and your floors will feel warm, run efficiently, and stay that way for years. If you want a sanity check before tiling, ask for a quick layout review and a thermostat spec. It’s a small step that keeps the whole job on track.
If all else fails, just contact us at Hotwire and we’ll look after the whole process for you.
Copyright 2023 Hotwire IP Pty Ltd. All rights reserved. Without the prior written consent of the copyright holder, this article may not be copied, shared, or transmitted. This encompasses various methods, including—but not limited to—photocopying, recording, as well as other electronic or mechanical means.